The Backpacker’s Guide to Photography
ADVERTORIAL/ GUEST POST**
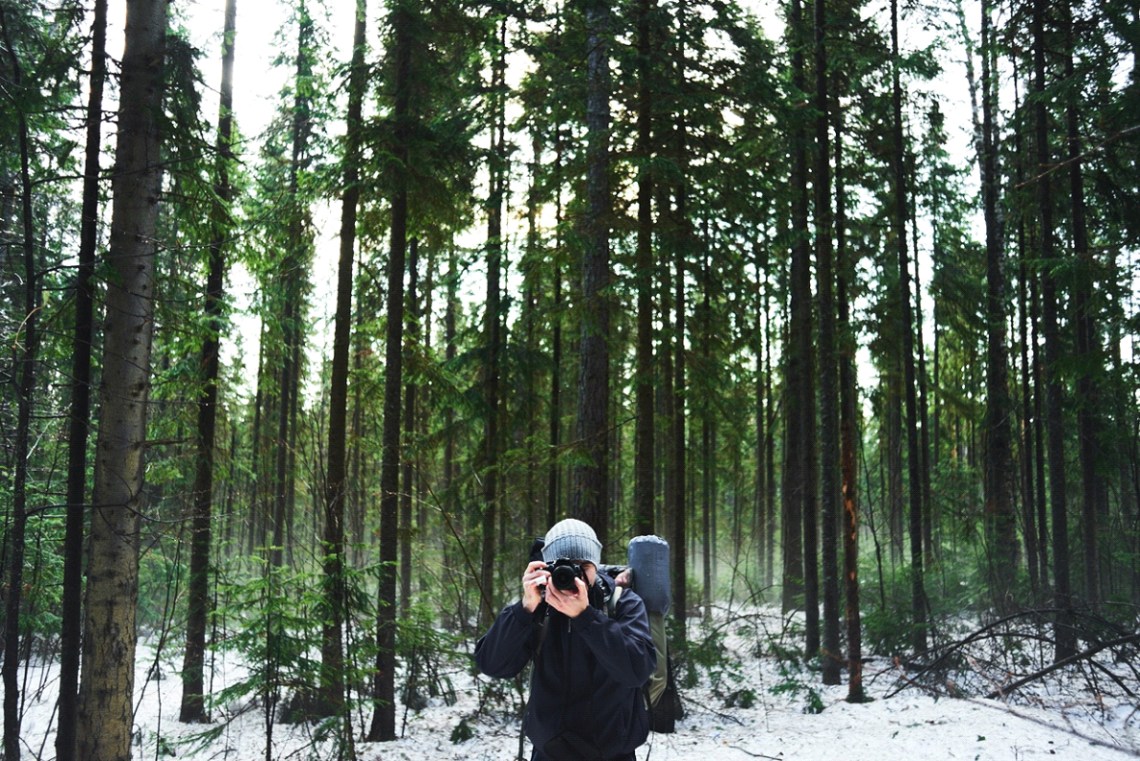
You’re planning a long backpacking trip – it will be a good idea to take a lot of pictures. What’s not a good idea is to take those photos with your smartphone. It’s going to be a great trip, and if you want everyone else to see how great it is, whether on social media, sending pictures to your mom’s digital photo frame, printing pictures out to take to work, you’re going to need a great camera.
That raises more issues: what kind of equipment do you need and how will you carry it? You’re going to have enough supplies for weeks, if not months, and now you’re going to need a camera, and lenses, and a tripod when weight is at a premium? Not only that, you’re going to need to be able to get to it easily so when you find that perfect view you can set up quickly without unpacking a bunch of other items.
Luckily, there are experts who have been photographing in the wild for years, and a few tips from them can definitely benefit you in your photography efforts. The exact method will be up to you and what makes you feel most comfortable.
Making a Plan
If you’re not taking your long trip immediately, the best thing to do is take a few “dry runs”. You don’t have to do everything at once. Take some one-night or weekend trips while you figure out some ways to carry your photography equipment. During this period, you can buy what you don’t have a piece at a time to determine the best way to keep it and the best way to bring it quickly to hand. This way, you’ll eventually find out what you really, really need and what you don’t absolutely need.

Most backpacking bags have the same general configuration – a main storage area in the middle, one on the top, one on each side, and one on the bottom. You’ll want to keep the heaviest objects in the center of your back, to give you a better sense of balance, since you’ll be doing a lot of walking. Naturally, the things you’ll need to access quickly, like water, will need to be in the outside pockets, on the side or the top.
Plan how you’re going to pack the same way you plan your route and your provisions. What goes where makes a huge difference. And you’ll be able to more easily figure out where to put your photography gear, once you get that settled.
Photography Equipment
Since you’re not using a phone, you’ll need a proper SLR camera, or at least one with the ability to change lenses. A high megapixel count is good, so you can blow up the best of them into proper poster-sized prints once you get home. There are smaller and lighter cameras, but none of them will give you pictures as sharp and clear.
Lenses

Lenses
Most of the time, you’ll use a standard lens for taking standard pictures. It’s what you’ll use when you see something while you’re walking along that you just have to snap. It may not end up being as good as the ones that require a tripod setup, but you should definitely be ready to take the opportunity when it comes.
For those landscape shots, you’re definitely going to want an ultra-wide lens. It will give you those impressive panoramic views other types of lens cannot mimic. For variety’s sake, however, you may want to use a lens with a narrower focus to capture a particularly interesting part of the view.
Tripod
If you’re serious about photography while you’re backpacking, you’re going to need a tripod. It’s pretty much impossible to take a rapid series of pictures with a steady hand. Look for models specifically for outdoor use – they’re sturdy, strong, but lighter than other tripods that size. It may (it will) cost more than the standard tripod, but no other kind will do for this kind of outing.
Miscellaneous
Don’t forget the essentials, namely extra batteries and memory cards. Expect to use about 3 batteries every 2 days. You may also want to install a cable release on your camera to further reduce the chance of shaking the camera when it’s mounted on the tripod.
So How Do I Carry All This?
Fortunately, you’re not going to be the first backpacker with a yen for photography. In fact, the photography industry already has you covered. It’s easy to find camera bags specifically for backpackers. These tough, water-resistant packs are enough to hold all your equipment and are made to be placed with the rest of your gear in an easily accessible space.
You’re not as likely to need things like the tripod and extra lenses while you’re hiking during the day, so you can carry a special bag specifically for that equipment, or if you have room, pack it in the middle, over your sleeping bag and clothing, but under your food.
The tripod is a special case. In general, they don’t have a special means to carry them, so you’ll have to make one. One expert suggests using outside compression straps to attach the tripod to the side. He also suggests pipe insulation around each leg to prevent the legs from being damaged by rocks while shooting.
Back to the Beginning
The best way to figure all this out is by trial and error. Take several backpacking trips of much shorter duration with all your equipment before you try the big one. It may turn out that a lot of the above doesn’t out for you and you may very well find a method that fits your personal needs much better.
**
Shariq Toor is a Content Strategist who writes on behalf of the digital picture frame experts at Nixplay. He loves following the latest trends in technology, social media, and health. In his off time, he practices landscape photography. Follow him on Twitter @Shariqtoor.

Great tips! My boyfriend and I are currently backpacking through Europe and I couldn’t have said any of the above better myself. The equipment in which you use makes a huge difference in the pictures and are worth the investment.
http://www.lacasabloga.com
Great tips! I learned a lot from you, I will do,this next time on my trip. Thank you for following my blog.
Useful post!
Visit, follow, and comment on my blog. anglojenineblog.wordpress.com
I’ll keep these in mind. 🙂
Great tips! I’ll sure take some these tips into consideration for my travels. Thanks for sharing!